If you’ve ever been captivated by the breathtaking landscapes of Norway, the Lofoten Islands should be at the top of your must-visit list. With their majestic mountains, pristine beaches, and charming fishing villages, the Lofoten Islands offer a visual feast for any artist’s eyes. In this article, we’ll explore the art of drawing these enchanting islands, guiding you through the process step by step. So, grab your sketchbook and pencils, and let’s embark on a creative journey to capture the essence of the Lofoten Islands on paper. This content is presented by Bizargirls.com.
Gathering Your Art Supplies
Before we dive into the drawing process, let’s ensure you have the right tools in hand. You’ll need:
- Sketchbook: Opt for a sketchbook with thick, textured paper to enhance your drawings.
- Pencils: Keep a range of pencils, from H (hard) to B (soft), for varied line intensity.
- Erasers: A kneaded eraser and a precision eraser will help you correct mistakes.
- Blending Tools: Paper stumps or blending brushes can soften lines and create realistic textures.
Grasping the Landscape’s Essence
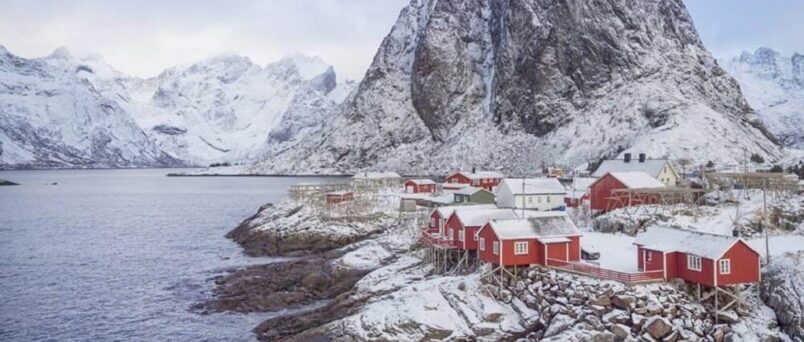
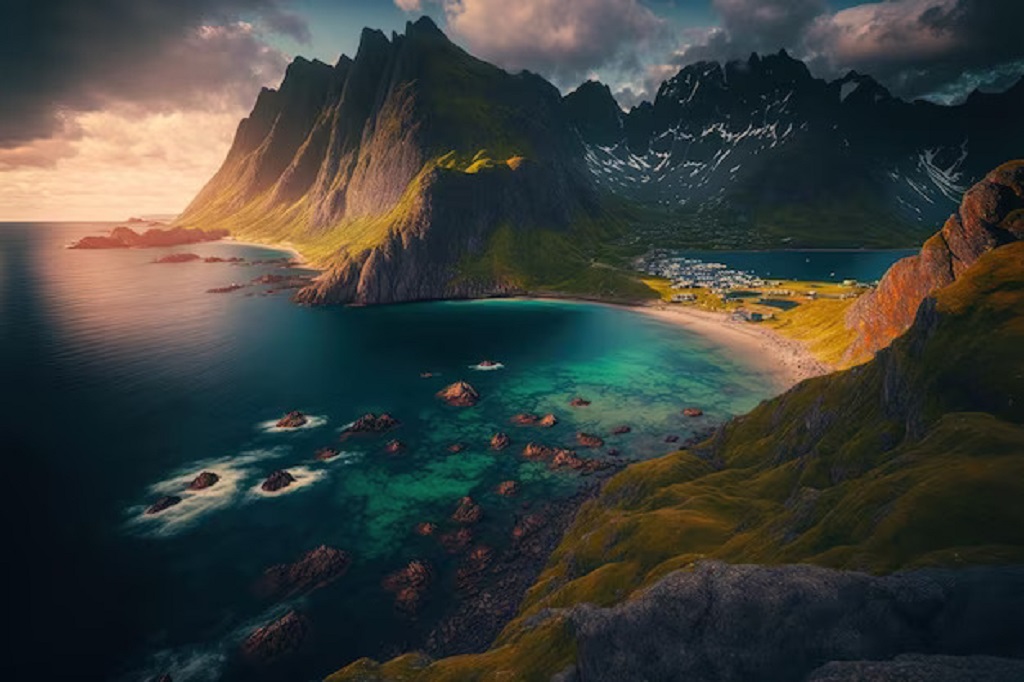
The Lofoten islands in Norway boast a unique blend of rugged terrains and serene waters. To capture their essence, observe the interplay of light and shadows on the mountains, the reflections in the clear blue fjords, and the quaint architecture of the villages.
Starting with Basic Shapes
Begin your drawing by lightly sketching the basic shapes of the landscape elements. Use simple geometric forms to represent the mountains, cliffs, and structures. This foundation will serve as a guide as you refine your drawing.
Adding Depth with Value
Value adds depth and dimension to your artwork. Use varying pencil pressures to create light and dark areas. Imagine the direction of the light source and apply shading accordingly. This will make your drawing more realistic and captivating.
Embracing the Textures
The Lofoten Islands are rich in textures, from the coarse mountain surfaces to the smoothness of the sea. Experiment with hatching, cross-hatching, and stippling techniques to mimic these textures. Pay close attention to the details to make your drawing truly immersive.
Infusing Life with Color
While monochromatic drawings can be stunning, adding a touch of color can breathe life into your artwork. Use colored pencils or watercolors to delicately introduce hues to your landscape. Keep the palette harmonious and balanced, mirroring the natural colors of the islands.
Focusing on Focal Points
Every artwork benefits from a focal point that draws the viewer’s eye. In your Lofoten Islands drawing, you could emphasize a charming village nestled between the mountains or a lone fishing boat in the tranquil waters. Ensure your focal point tells a story within the larger narrative.
Balancing Realism and Interpretation
As you progress, you’ll need to strike a balance between realism and your artistic interpretation. Don’t feel constrained to replicate every detail exactly. Use your creative freedom to accentuate certain elements or play with the composition for a more captivating result.
Inviting the Viewer to Explore
A great drawing tells a story and invites the viewer to explore the scene. Incorporate pathways, winding roads, or meandering shorelines to guide the viewer’s gaze and imagination. Create a sense of curiosity and wonder through your artistic choices.
Stepping Back and Reflecting
Periodically step back from your drawing to assess your progress. This perspective shift will help you identify areas that need refinement or adjustments. Don’t hesitate to make changes that enhance the overall visual impact.
The Magic of Final Details
As you approach the finishing touches, zoom in on the finer details that make the Lofoten Islands unique. Add intricate patterns to the village roofs, delicate ripples to the water, and subtle highlights to the peaks. These small details can elevate your artwork from good to extraordinary.
Sign your Masterpiece
Congratulations, you’ve successfully captured the beauty of the Lofoten Islands through your artwork! Before you conclude, don’t forget to proudly sign your masterpiece. Your signature is a testament to your creative journey and adds a personal touch to your creation.
Drawing the Lofoten Islands is a rewarding artistic endeavor that allows you to immerse yourself in the stunning landscapes of Norway. By combining observation, technique, and your unique artistic flair, you can create a masterpiece that encapsulates the magic of these islands. The process of sketching these breathtaking sceneries not only offers an opportunity to unleash your creativity but also brings along numerous health benefits of being in nature. Engaging with the picturesque surroundings can reduce stress, boost mood, and enhance overall well-being, making your artistic journey even more enriching and fulfilling. So, grab your art supplies and embark on a captivating visual journey through the captivating beauty of the Lofoten Islands in Norway.
Frequently Asked Questions
Q1: Can I use digital tools for drawing the Lofoten Islands?
A: Absolutely! While this article focuses on traditional drawing techniques, digital tools can also be used to create stunning renditions of the Lofoten Islands.
Q2: How can I make my colors look more realistic?
A: Practice layering colors and blending techniques to achieve more realistic color transitions and gradients.
Q3: What if I’m a beginner and haven’t drawn landscapes before?
A: Start with simple landscapes and gradually work your way up. The key is consistent practice and a willingness to learn.
Q4: Are there any specific time-of-day lighting effects I should consider?
A: Different times of the day offer unique lighting and shadow effects. Experiment with dawn, dusk, and midday lighting to add drama to your drawing.
Q5: Can I incorporate my own imaginative elements into the drawing?
A: Absolutely! Feel free to infuse your artistic imagination while staying true to the essence of the Lofoten Islands.